Ahhh. It feels so good to be using the sewing machine again! I've been avoiding my stash of fabrics for months now. Sewing in the cold months is just not as satisfying or enjoyable as sewing in the sunlight with the window open.
Vintage Fabric Clutch - Quickie DIY
I have been longing for a new clutch ever since I saw my friend with one the other night when we went out together - it was cute, turquoise and just the right size for all of her necessities - cash, card, ID, phone and lipstick. No strap, no fuss, no big purse to carry around all night!
Today I made this little number in about 20 minutes. It was very easy, quick and satisfying. I love these vintage fabrics and the little button. I think mine turned out cuter than my friend's too (but shhhh, don't tell her I told you!!!) Here's how you do it:
You will need:
- Two 9x14" rectangles of vintage cotton fabric
- 9x14" rectangle of light to medium weight interfacing
- 2x8" fabric scraps
- Scissor or rotary cutter and mat
- Pinking shears
- Sewing machine
- Needle and thread
- Vintage button
If you haven't done so already, cut out the 9x14" rectangles of fabric and interfacing. I chose a brown cotton for the outside and a coordinating cotton print for the inside.
Layer and pin the rectangles in this order - outside fabric right side up, lining fabric right side down, interfacing on top (if you're using the fusible kind, you want to fuse it to the wrong side of the lining fabric before pinning!)
Sew around outside edges with a 3/8" seam allowance, leaving a gap wide enough to turn fabrics along one edge. Trim corners, turn. Press, pin and topstitch close to the outside edge, closing gap as you sew.
 |
| Gap left for turning |
 |
| Turn, turn, turn |
Fold the piece into thirds lengthwise to form the clutch. Pin and stitch in the ditch along the inside "purse" edges to close (but not the top flap.)
 |
| Stitch along the sides to make a "purse" |
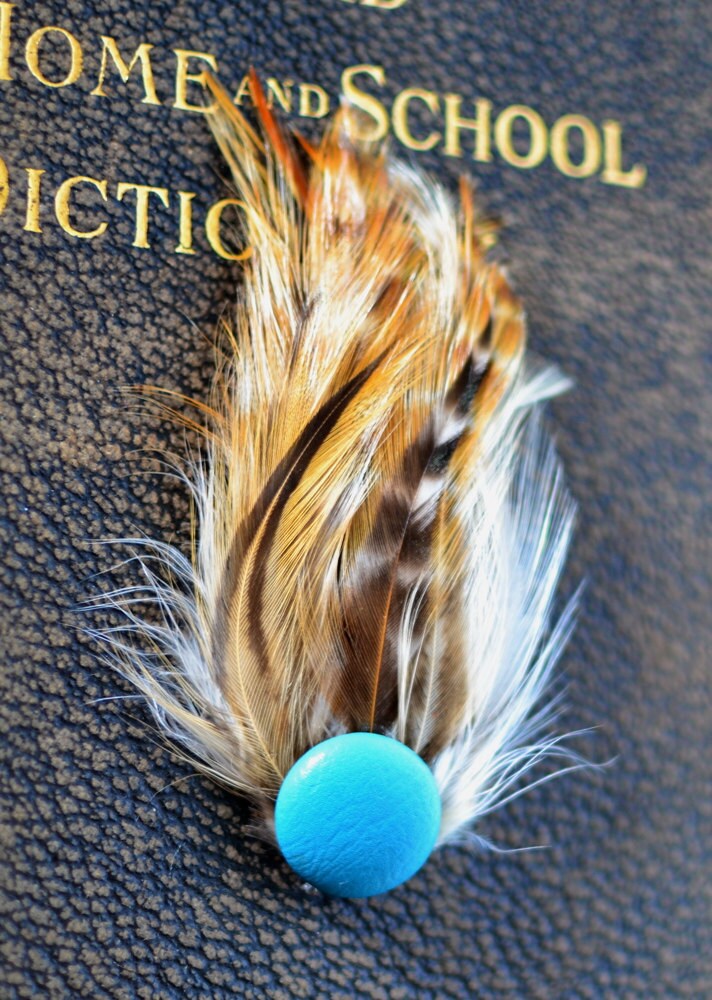
Cut two 2x8" fabric scraps with pinking shears. Place wrong sides together, fold a few "ripples" (don't try to be too perfect here!) and tack in place where you want it to sit on the front of your clutch (I used the sewing machine to sew a Z to tack in place.) Attach a button, brooch or embellishment of choice.
 |
| I chose a vintage button... |
You're done! A cute little clutch just in time for summer. These are so fast and cute - you can whip one up for every day of the week! ;)
Send me a picture if you make one! Can't wait to see!
Happy crafting... ;)
