Yarn wreaths are one of those vintage gems that when I come across in the thrift store, I'm immediately transported back to the days of bubble lights and tinsel covered trees. Typically covered in a cheap sheen of red, green and white, to this day there's something about the look and feel of acrylic yarn that reminds me of childhood Christmases and happy times.
One of the things I love about this "nostalgia movement" amongst crafters is that folks are taking the old and sentimental, giving it a swift kick in the pants, and creating handmade items that are relevant to today's style with nicer materials, cool colors and often times and unexpected artistic flair.
So when I started seeing yarn wreaths all over Etsy, Pinterest, magazines, blogs, etc. I wasn't surprised, I was excited! What a great nod to my childhood. And not just for holidays! I thought "this, THIS I CAN DO!" And now you can too. I'll show you how easy it is.*
*This project does takes a couple/few hours so be ready with a pot of tea and some Desperate Housewives reruns queued up... :)
Grown Up DIY Yarn Wreath
You'll need:
Foam wreath blank in size of choice
2-3 skeins of yarn in weight of choice (I used acrylic/wool blend in worsted weight)
yarn pom poms
3 foot length of coordinating yarn for stripes
lace scraps
vintage buttons
ribbon scraps
Coordinating rick rack (I used large width)
Hot glue gun & glue
Fire up the glue gun and glue the end of your chosen yarn to the top back of the wreath (you choose where the top should be.) Wait for the glue to dry a bit so the yarn with hold steady while you wrap. Begin wrapping by holding the ball of yarn firmly and circling around the wreath tube 5 or 6 times, keeping the yarn somewhat taught while you wrap. Maintain tension while you slide the loops toward the center, keeping them from overlapping, but pressed close together.
(Here is where you want to get comfortable and press play on Netflix.)
Keep wrapping and wrapping and wrapping and sliding the loops together in this same manner. If you need to take a break, use a straight pin to hold the yarn in place and maintain tension. make sure your loops don't overlap - smooth them out as you go, making sure they stay tight together.
If/when you reach the end of a skein, hot glue the end on the BACK side of the wreath. Make sure all your loops look uniform (smooth out any overlaps, slide loops closer together if needed) before you glue! Start another skein by gluing the new yarn end right where you left off.
If you come across any knots in the yarn, trim the yarn before the knot so that you can glue the end to the back of the wreath. Cut away the knot, glue the fresh end and start wrapping again.
When you have wrapped to cover the entire wreath, glue end to the back next to where you started. Be sure to pat yourself on the back! That took forever...
Take the length of coordinating yarn (I used a gray wool yarn scrap) and glue to the top back again. When dried a bit, wrap around in a large diagonal loop keeping even space between loops. These can be as far apart or as close together as you like! Glue end to secure at the top back when finished wrapping. You can wrap around again if you like to create an X effect, just go the opposite direction!
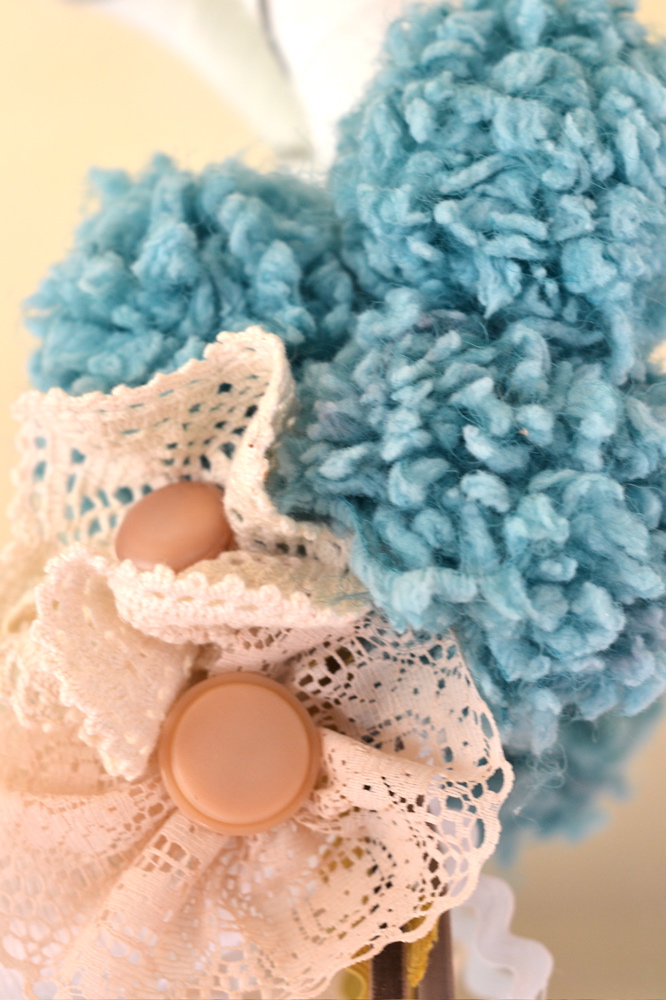
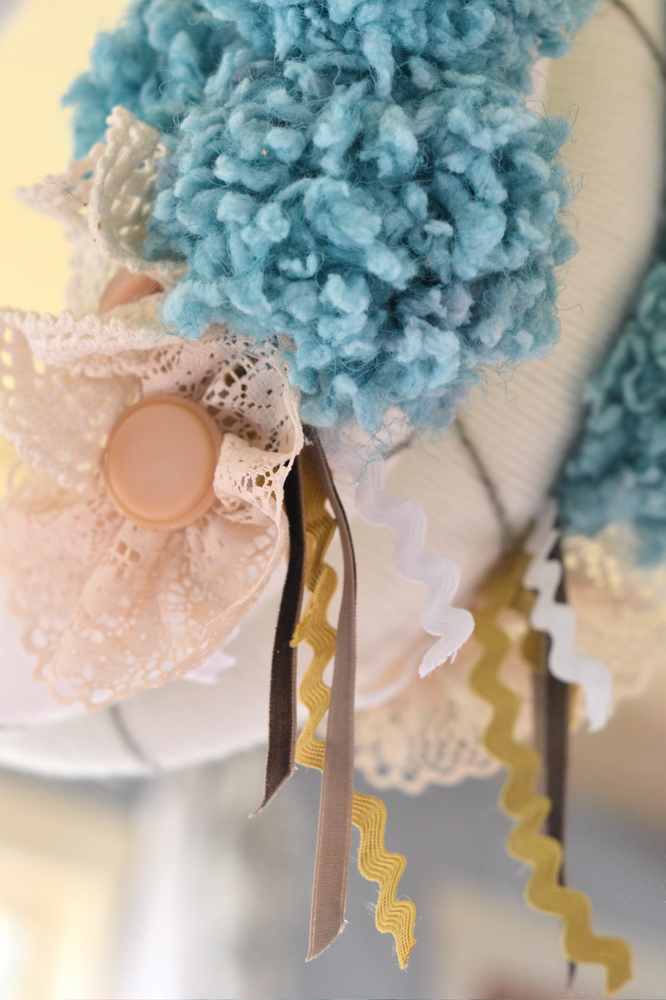
Now onto the pom poms. I happened to have three fuzzy poms on hand left over from a project last year. Google "yarn pom poms" if you need a pattern, they are fairly easy to make, or you can find pom pom makers at the craft store in the yarn section. Glue the pom poms to the front with the glue gun, tight together in a group of three.
Lace scraps can be bunched into a flower shape, or you can sew a running stitch on one side and pull to create a flower. I made a bunchy flower with a cotton lace doily simply by gluing it into a flower shape (careful here - the glue is hot!!!) right onto the wreath and glued the sewn lace flower right below it. Vintage buttons were glued to their centers, and a few scraps of rick rack and ribbon were glued behind the flowers to hang down a bit as an accent.
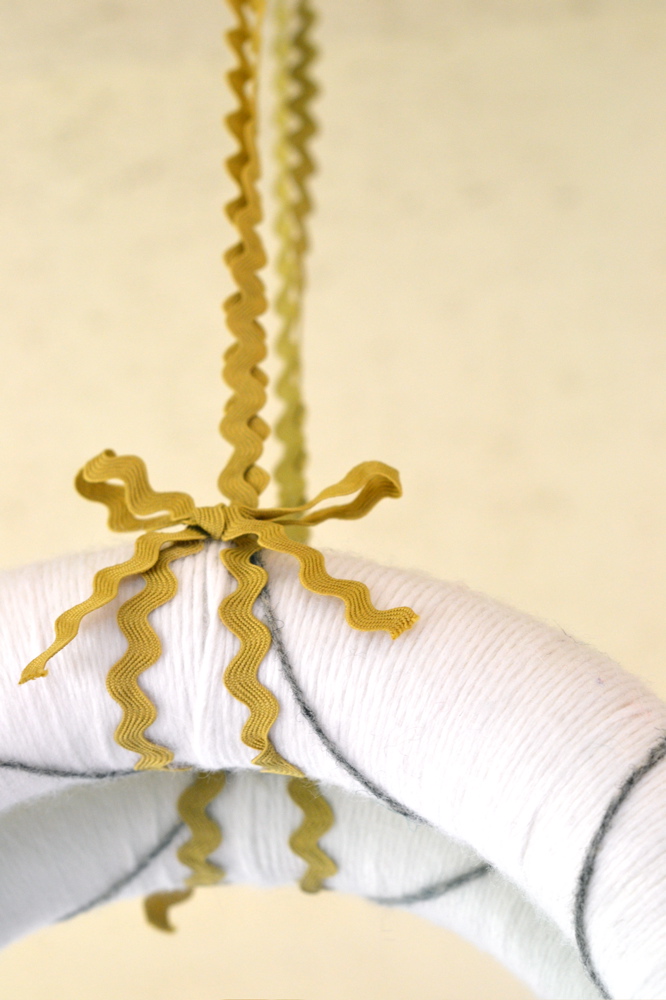
Rick rack was used as a wreath hanger by looping both end through the top of the wreath and trimming to desired length. I made a little bow with the leftovers and glued it to the top of the loop on the wreath.
Ideas:
Use different shades of yarn to "color block" a wreath!
Use two strands together (advanced maneuver!) to create more texture
Use felt balls, felt flowers, knitted/crocheted flowers, leaves, twigs, birds nests, etc. instead of pom poms! I bet you could think up some amazing seasonal themes...
Have fun!