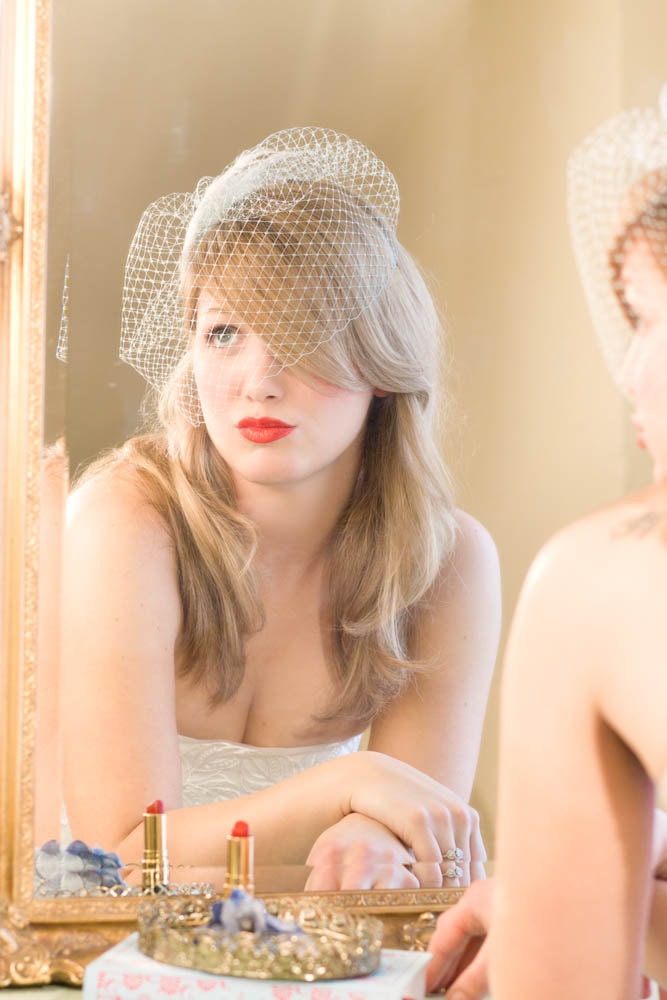
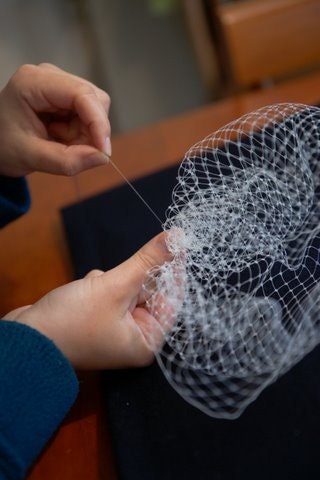
2012 brings on lots of unexpected changes for me. I have been making veils and hair accessories by hand for the last year and while I enjoy owning an Etsy shop and selling handmade, I know it's time for a change. Late last summer Etsy made changes to their searchability, and I watched my steady sales suddenly and completely drop off. I did what I could to try to make my shop more visible (following all the Etsy-endorsed suggestions...), but nothing seemed to help. In my opinion, this change "leveled" the playing field for the top sellers and the bottom sellers, but the folks in the middle seemed to be left scrambling. Rather than spend the time trying to figure it out, I found myself feeling like giving up, which is normally not part of my character.
I did some soul searching and realized that my heart was no longer in my products. I loved the shop owner aspect, but not the day-to-day assembly line of veils. The passion of making was nowhere to be found when I was cranking out seven of the same hair pieces a day, every day, five days a week. What I really loved was growing a business and the creative doors it opened. I loved making sales,
promoting, writing and photographing items and connecting with customers
and fellow sellers. My online shop was a jumping off point to do all the things I really love - the blog, the diy's, the photo shoots, the event styling, the writing, the creative contributions. The drop off in sales turned out to be a good wake up call and a good kick in the behind to put my creative abilities to work elsewhere.
So I've decided it's time to pursue these other creative avenues more fully since that is where my heart currently resides. I'm not quite ready to fully quit the Etsy shop yet, I've instead decided to try and change what I sell for now, and becoming a slightly more passive maker/seller. You'll now find patterns for my three of my best selling items - the classic birdcage veil pattern, the classic birdcage veil kit in white (which includes the materials), and the feather fascinator headband. All include detailed instructions, tips and suggestions on where to find the materials, tips on how to wear, and lots and lots of clear photos for each step. It's a way to sell a my designs and enable others to feel the satisfaction that comes from creating it yourself. I'm testing the waters and if all goes well, I might put up a few more. I hope you'll recommend them to your crafty engaged friends!!!
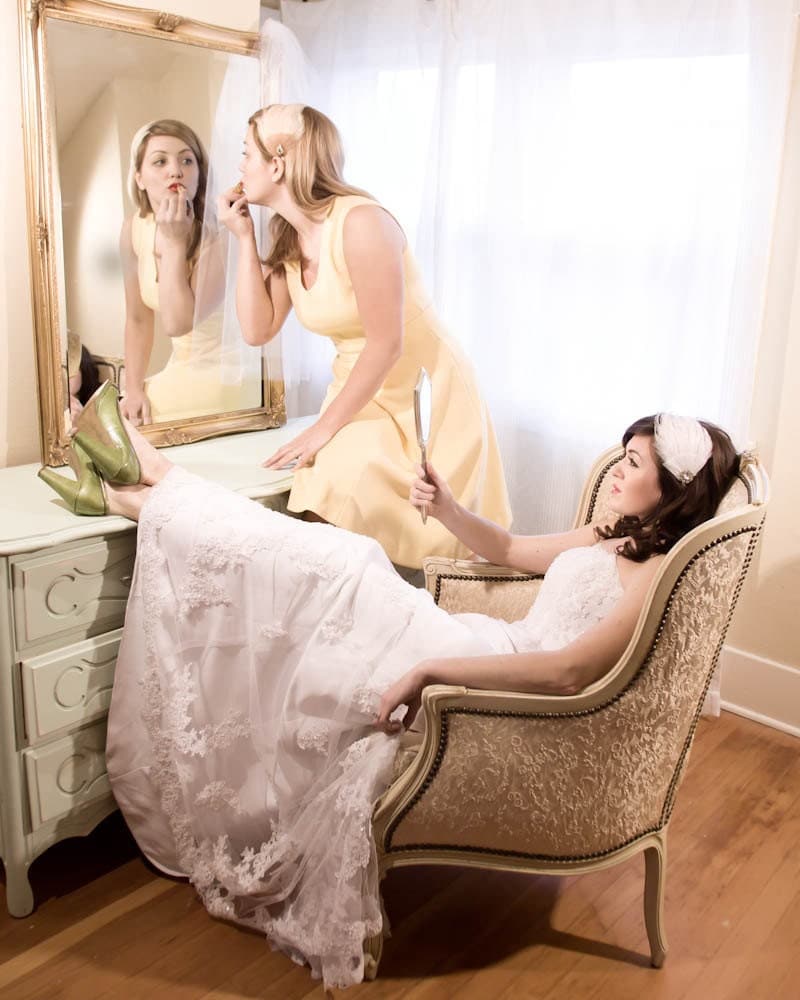
I'll keep you posted on what's next as exciting things start happening. I'm very excited to announce that I'll have my first article published in one of my favorite publications next month! It's a secret though, so you'll have to wait and see what it is... ;) Spring brings the 3rd annual Northwest Vintage Wedding Fair, which I am happy to be a part of planning again this year. Along with that comes another inspiration zine, which I am more than stoked to put together again! Tacoma Is For Lovers is also going to be happening the Sunday before Valentine's Day, and I'll be there selling some cute vintage slips, vintage repurposed clothing and some handmade accessories.
Today my plan is to enjoy the snow and snuggle up with my kids for some pizza and a movie this evening. Sometimes being your own boss is the best!
Showing posts with label birdcage veils. Show all posts
1.17.2012
7.16.2011
More on how to style a "classic" birdcage veil
Tips On How to Style A Classic 9 inch Birdcage/Blusher Veil (like the one shown here in the photo)
![]() |
| 9 inch "Classic" style birdcage veil |
- To soften and remove wrinkles, apply light steam or iron on low. You may also very carefully run the veil under lukewarm water and iron on low when dry. Veil will hold it’s shape but become more pliable and easy to style.
- This veil looks great with many different hairstyles and fascinators. Figure out where you want the veil to sit by positioning the comb in your hair. If the veil seems to “pop up”, use bobby pins to discreetly tack the veil in place until it’s styled how you want it to look.
- This style of veil looks great asymmetrically, placed 3-4 inches above the hairline (place it right where your part is if you part your hair to one side.) It gently sweeps over the eye and gives you a very whimsical, romantic look. You can also scoot it down a bit towards the ear even for a little more drama.
- If you have an updo, position the veil at the crown of the head right above the 'do for a classic feel.
- If you’re wearing a fascinator, position your fascinator on top of the comb after styling the veil.
- For extra security, use this little trick: comb the veil into a pin curl. Take a lock of hair and curl it up into a "circle" and pin it to your head using bobby pins to make an "x". Then slide the comb in against the scalp behind the x. Your comb will stay extra secure!
Labels:
birdcage veils,
bride,
Deeds and Petunia,
DIY,
Etsy,
styling a veil,
tips,
wedding
2.10.2011
How to wear your birdcage veil
I get asked a lot about how to wear a birdcage veil. Most brides want the option of taking off the veil post-ceremony and wearing just the fascinator for the reception. So the simple solution is to make sure the veil is detachable.
But from there, it can get a bit tricky. What sort of birdcage veil do you have? A blusher, a bandeau, a full-on-down-to-the-shoulders-head-cage? (Not a huge fan of those personally. Remind me too much of the dark ages.)
Here are some suggestions on how to wear a few styles of the ever so popular birdcage veil.
The Blusher
By far the most popular, this veil looks great with many different hairstyles and fascinators and it's very easy to make! Typically this veil is made with 9 inch wide veiling, gathered up into a "cage" shape. My favorite way to wear this veil is asymmetrically, fastened to the head with comb or bobby pins 3-4 inches above the hairline (place it right where your part is if you part your hair to one side.) It gently sweeps over the eye and gives you a very whimsical, romantic look. You can also scoot it down a bit towards the ear even for a little more drama.
If you have an updo, pin it in the middle/back of the head right above the 'do for a classic feel. Position your fascinator on top of where the veil is gathered (the middle of the cage.)
The Bandeau
Very simple and chic. Easy to position and detach. This veil typically fastens to the hair right behind the top half of each ear with small combs attached to the veil or just simple bobby pins (my preference.) This veil looks especially fabulous with a hair down look or a half up/half down 'do. I've seen brides put pretty floral clips over where the veil fastens, or a fascinator on one side like this photo.
It lent some nice vintage drama having the feather fascinator on one side of her head where the part was. The veil sort of disappeared into her long curls on the other side. Very soft and pretty.
The Teardrop
This one is a little trickier. Because it's smaller and will sit asymmetrically, you have to choose your fascinator wisely. A fascinator with a headband works nicely with this little fella. Position with bobby pins and make sure the fascinator is large enough to "float" atop the veil attractively.
The Merry Widow
Despite the name, this veil is so much fun! It's dramatic and glamorous. Another cage-type veil, with larger diamonds, more shape and a stiffer feel. The veil is typically made with 12 inch "English Veiling" but keeps with the basic design of a classic birdcage pattern. I like this veil as more of a straight on "cage" for the noggin. Position the gather at the crown of the head with a comb and let it wrap around. Use bobby pins to secure and style it to your liking. A big lovely floral fascinator looks fabulous right on top of an updo or half-updo. I would love to make this veil sometime in hot pink or aqua. This veil is definitely not for the wallflowers!
To Comb or Not to Comb...
I find that a veil with a comb attached is great for updo's, and then using bobby pins to further style the veil works great. If you are wearing your hair down or your fascinator has a comb attached, you might consider ordering the veil without a comb attached. Bobby pins will do the job just as good.
One Last Tip!
For any hairstyle other than an updo, make the comb extra secure using this little trick: comb it to a pin curl. Take a lock of hair and curl it up into a "circle" and pin it to your head using bobby pins to make an "x". Then slide the comb in against the scalp behind the x. Your comb will stay extra secure!
Find my easy to follow PDF pattern here and make your own unique, beautiful and timeless veil!
Hope this helps make this part of the wedding planning process that much easier for you!
But from there, it can get a bit tricky. What sort of birdcage veil do you have? A blusher, a bandeau, a full-on-down-to-the-shoulders-head-cage? (Not a huge fan of those personally. Remind me too much of the dark ages.)
Here are some suggestions on how to wear a few styles of the ever so popular birdcage veil.
![]() |
| The "Blusher" style veil |
By far the most popular, this veil looks great with many different hairstyles and fascinators and it's very easy to make! Typically this veil is made with 9 inch wide veiling, gathered up into a "cage" shape. My favorite way to wear this veil is asymmetrically, fastened to the head with comb or bobby pins 3-4 inches above the hairline (place it right where your part is if you part your hair to one side.) It gently sweeps over the eye and gives you a very whimsical, romantic look. You can also scoot it down a bit towards the ear even for a little more drama.
![]() |
| Another way to wear the "Blusher" style veil |
![]() |
| The "Bandeau" style veil |
Very simple and chic. Easy to position and detach. This veil typically fastens to the hair right behind the top half of each ear with small combs attached to the veil or just simple bobby pins (my preference.) This veil looks especially fabulous with a hair down look or a half up/half down 'do. I've seen brides put pretty floral clips over where the veil fastens, or a fascinator on one side like this photo.
It lent some nice vintage drama having the feather fascinator on one side of her head where the part was. The veil sort of disappeared into her long curls on the other side. Very soft and pretty.
| The "Teardrop" style veil |
This one is a little trickier. Because it's smaller and will sit asymmetrically, you have to choose your fascinator wisely. A fascinator with a headband works nicely with this little fella. Position with bobby pins and make sure the fascinator is large enough to "float" atop the veil attractively.
| The "Merry Widow" style veil |
Despite the name, this veil is so much fun! It's dramatic and glamorous. Another cage-type veil, with larger diamonds, more shape and a stiffer feel. The veil is typically made with 12 inch "English Veiling" but keeps with the basic design of a classic birdcage pattern. I like this veil as more of a straight on "cage" for the noggin. Position the gather at the crown of the head with a comb and let it wrap around. Use bobby pins to secure and style it to your liking. A big lovely floral fascinator looks fabulous right on top of an updo or half-updo. I would love to make this veil sometime in hot pink or aqua. This veil is definitely not for the wallflowers!
To Comb or Not to Comb...
I find that a veil with a comb attached is great for updo's, and then using bobby pins to further style the veil works great. If you are wearing your hair down or your fascinator has a comb attached, you might consider ordering the veil without a comb attached. Bobby pins will do the job just as good.
One Last Tip!
For any hairstyle other than an updo, make the comb extra secure using this little trick: comb it to a pin curl. Take a lock of hair and curl it up into a "circle" and pin it to your head using bobby pins to make an "x". Then slide the comb in against the scalp behind the x. Your comb will stay extra secure!
Find my easy to follow PDF pattern here and make your own unique, beautiful and timeless veil!
Hope this helps make this part of the wedding planning process that much easier for you!
Subscribe to:
Posts (Atom)